As Apple makes leaps and bounds in improving camera quality and image resolution, iPhone users are soon going to run into another issue: running out of storage space. Before you start deleting your library and losing precious memories, you can resolve the problem by transferring image files from your iPhone to your computer. One of the most tried and tested methods of doing this is by using a USB or lightning cable to connect your devices. We’re going to run through how to complete this transfer process to both a MacOS and Windows-operated computer or laptop.
MacOS
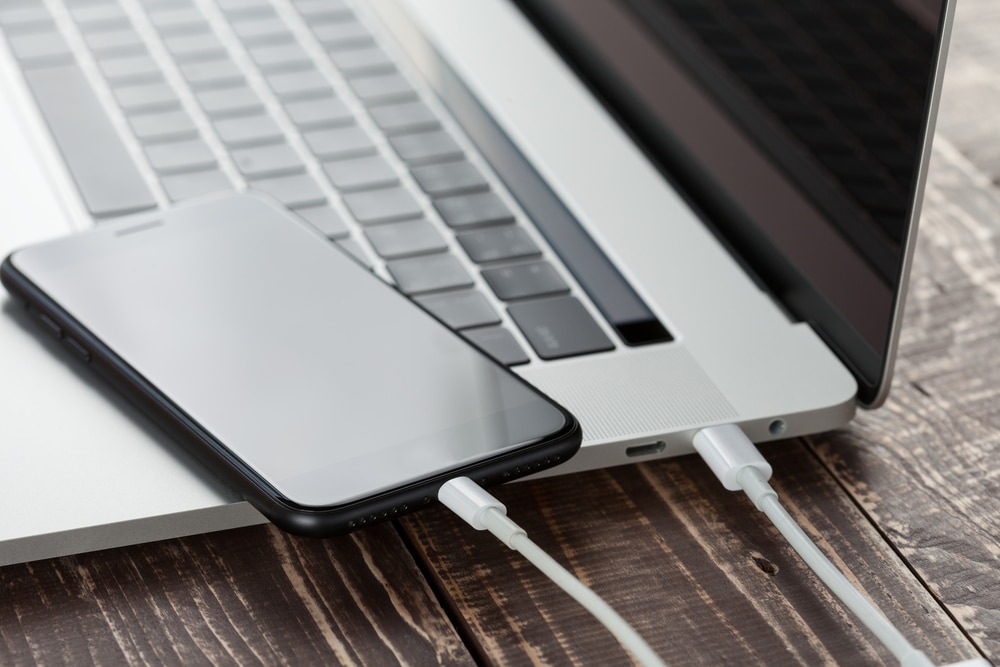
First, connect your iPhone to your computer using a USB cable (the charging cable for your iPhone is perfect!). The Photos app should automatically launch, but you can also manually open it on your Mac device. You should see your iPhone on the left side of the app screen.
Next, find the blue “Import All New Items” button in the top right corner. This will import all images that do not yet exist in your Mac Photos app. Alternatively, you can select from the visible images which ones you want to import to your Mac device, then tap the “Import Selected” button. You can also check the box that says “Delete items after import” in order to automatically delete the imported images from your iPhone.
You can then view your imported images by selecting “Last Import” on the left of the screen.
Windows
As with MacOS, begin by connecting your iPhone and computer. If the Photos app doesn’t automatically launch, open the program from the Start menu. Please note that you may need to unlock your iPhone in order to continue.
Click the “Import” button in the top right corner. All photos will automatically be ticked for import, but you can deselect which ones you do not want to include, or choose “Clear All” to make a custom selection. Once you have made your selection, click “Continue” in the bottom left corner.
A pop-up will appear asking if you’d like to automatically delete the imported image from your iPhone. Once you’ve made and selected your decision, click “Import” to transfer the images to your main Pictures folder, or click the blue “Change where they’re imported” link to select a different destination.
Once complete, click “Albums” in the left hand menu, then “Last Import” to view the imported images.
We wish you many quick and simple imports, and more space on your iPhone to take some more happy snaps of your favourite moments!
Source: DigitalTrends