The time of screenshots has evolved to a whole new level. Rather than just taking snaps of a screen, you are able to share an entire video or process. This is very helpful for people giving tutorials or, with the growing popularity of gaming, recording gameplay.
In order to access the record feature, you first need to set it up. To do this, go to your Settings app > Control Centre > Customise Controls and scroll down till you see the Screen Recording option.
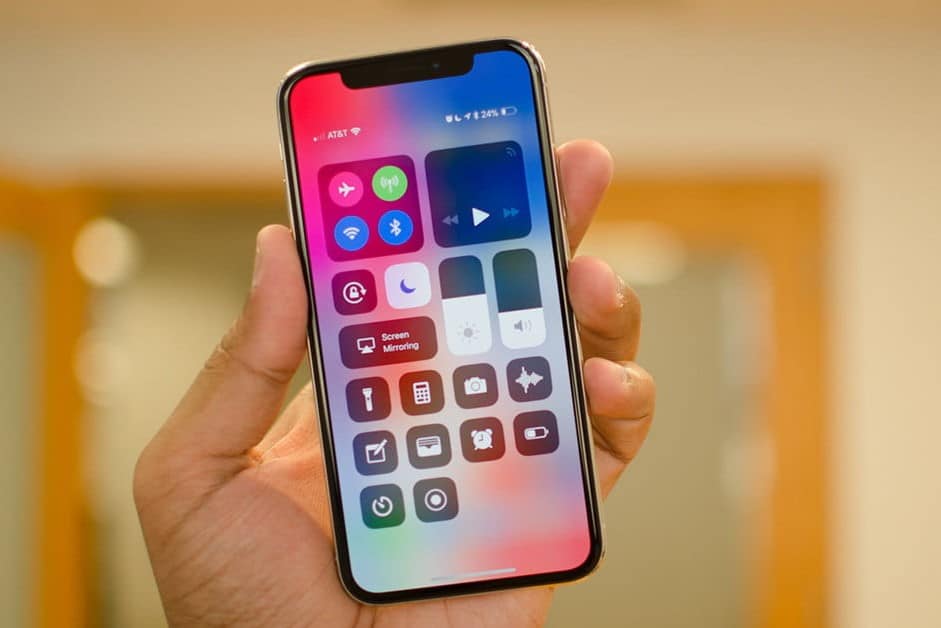
Tap the plus sign next to Screen Recording to add the option to your Control Centre. Go back to your home screen (or just stay in settings if you want) and open your Control Centre. You can do this by swiping up from the bottom of the screen (on iPhone 8 and earlier) or swiping down from the top right corner (on iPhone X and later). You should now see a record button available. The icon is a solid circle inside another circle. To start recording without sound, all you have to do is tap on it.
If you would like to activate your microphone, 3D tap on the icon and tap the microphone option that pops up. You will then be able to tap start recording to begin.
Note: There is a 3-second delay before the recording starts.
Once you are ready to stop your recording, you can either open the Control Centre again and tap the record icon, or you can tap the red bar at the top of the screen. Tapping the red bar will reveal a pop-up window where you will be able to press cancel to continue or stop to end it. The recording will be saved to your Photos app.
Now you can take an easy recording of whatever it is you want to share with your friends and family. Have fun making screen record videos!
Sources:
https://support.apple.com/en-za/HT207935
https://www.businessinsider.com/how-to-screen-record-on-iphone/