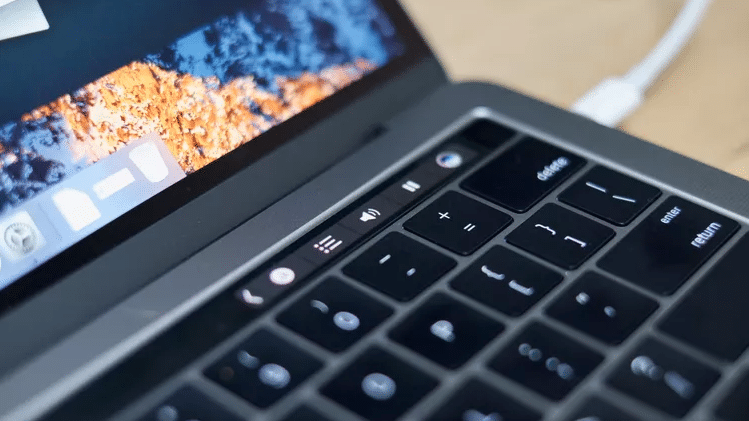
The touch bar on the MacBook Pro has been a great addition to MacBook’s and allows you to not only get a variety of great features but interact with the control strip and customise it to suit you.
In order to customise the control strip, go to System Preferences > Keyboard > Customise Control Strip. This will bring up a window with a variety of different tools that you can add and use on the control strip. To add one, drag it from the window and continue dragging downward on your screen until you see it appear on the control strip. You can then drop it onto the control strip where you want it.
If you want to remove an item, you can either use your finger and drag it all the way to the left-hand side of the strip, or you can use the trackpad to drag it out of the strip. Similarly, you can use your finger to move the different tools around and rearrange them.
You are also able to customise the touch bar in specific apps. To do this, open the app and select View from the menu, then Customise Touch Bar. You will then be able to add and remove items just like in the explanation above.
You can play around with the touch bar and control strip to get it just how you want it. Just move things around until you feel comfortable and everything is where you want it to be.
—–


