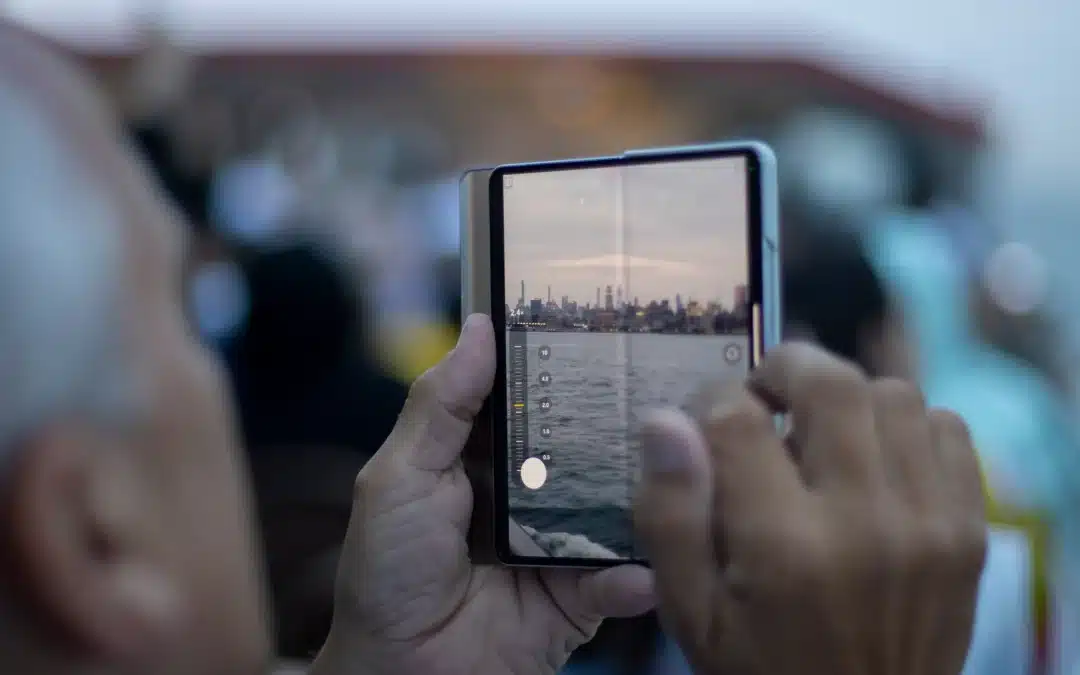
It’s 2023, and there is no shortage of ways to customise your camera settings. From extra shutter buttons to voice commands – you name it, Samsung can do it! But what if we told you, you could have even more control? Yes, that’s correct! For those who know where to look, Samsung Galaxy devices can go the extra mile.
Samsung’s app, Camera Assistant, is available for the latest Galaxy models and allows users extensive camera customisation options. These include the ability to turn off automatic lens switching in low-light conditions and select whether the camera takes a photo when the user touches or releases the shutter button. While it may not be of interest to casual photographers, those who enjoy deep diving into technical menus will likely appreciate Camera Assistant. Here’s how to get started:
First, to use Camera Assistant, you need to be running Samsung’s One UI 5.1 OS. The app is available for the following phones:
- Samsung Galaxy S20 / S21 / S22 / S23 series
- Samsung Galaxy Note 20
- Samsung Galaxy Z Flip 3 / Z Flip 4
- Samsung Galaxy Z Fold 2 / Z Fold 3 / Z Fold 4
Then, you’ll need to download Camera Assistant from the Galaxy Store. Once the app is downloaded, you’ll be able to find a new set of options by opening the camera app and tapping the settings cog in the upper left of the screen. Scroll down and tap Camera Assistant.
Here’s what you’ll find:
- Auto HDR: Toggle this setting off (it’s on by default) to disable Samsung’s often aggressive HDR effect in high-contrast scenes. Note that there’s no way to turn it back on for individual shots without revisiting the Camera Assistant menu.
- Picture softening: Choose from off (default), medium, or high.
- Auto lens switching: Turn this off (it’s on by default) to prevent the camera from switching lenses automatically, which it will do in certain scenarios. For example, it will switch to the main camera and use digital zoom rather than the telephoto lens in low light.
- Quick tap shutter: This is off by default; toggling it on will force the camera to capture an image as your finger touches the shutter button. (The default behavior is to start the capture as you take your finger off the button.) It will use fewer frames to create your final image, which can have a negative impact on image quality.
- Capture speed: You have more shutter options here. Rather than fully override the normal shutter behavior, you can choose from three settings: prioritize quality; balance speed and quality; or prioritize speed.
- Video recording in photo mode: Toggle this off to disable video recording when you long-press the shutter in still photo mode.
- Timer multi-photo options: By default, the camera will take one photo with the timer mode. Here, you can have it take up to seven photos and vary the interval between shots from one to three seconds.
- Camera timeout: Shorten or extend the amount of time after which the camera will automatically close if it’s inactive. This is set to two minutes by default; you can change that to a minimum of one minute and up to 10 minutes.
- Dim screen while recording: If there’s no input while recording a video clip, the screen can automatically dim to save battery. This is off by default; you can opt for up to 10 minutes.
- Clean preview on HDMI displays: Toggle this on (it’s off by default) to show the camera preview on another display over HDMI without showing the buttons and settings options.
Now you have a whole lot more extra camera control at your fingertips! Go forth and capture memories.
Source: The Verge


